AstroPlotorium User Manual
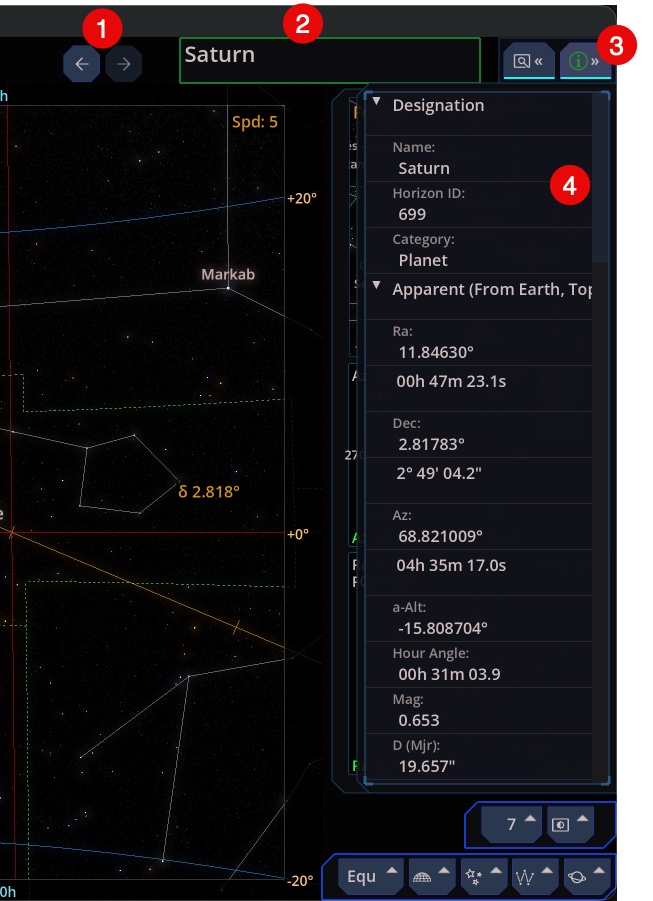
When you select an object, its name sits at the top right. That name is also a button: click it to turn the camera back onto the target.
Back and Forward (1)
The arrows beside the name walk through objects you have already opened. Each step restores the object and the main view you were using. They do not undo a clock change or a layer toggle.
Target Name (2)
This shows current target name. Click it to re-target it.
Property panel (4)
Click (3) button to open the property panel (4).
The information button at the top right opens a list on the right. Contents depend on the object. You will usually see:
- Name and catalog designations.
- Equatorial coordinates, often both in degrees and in hours and minutes.
- For a solar-system body: apparent place as seen from the current observer, altitude and azimuth, distance, angular size, magnitude, and phase when those apply.
- Physical values when the catalog has them: radius, mass or gravity, orbital elements.
- For a star: magnitude, spectral type, and distance when known.
- For a deep-sky object: type, size, and catalog ids.
Empty fields mean the catalog does not carry that number. The app does not invent them.
The same panel is where you confirm what the picture is showing. If a label and the property list disagree, trust the property list and treat the picture as the view of that record.
Click to select
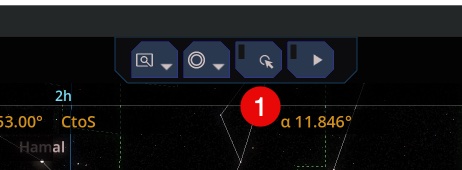
The target button (1) in the top-center bar turns click-to-identify on or off. When it is on, clicking a star, planet, or deep-sky mark selects it the same way the navigator does. Turn it off when you want to drag the sky without changing the target.
Actions under the view
The bar at the bottom center follows the target.
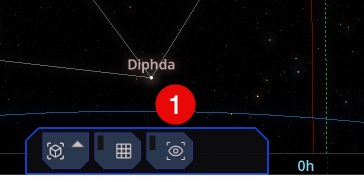
- (1) In the sky views, a Track control keeps the camera on the selected object while time moves, so a planet does not drift out of a narrow field of view.
For many solar-system bodies you can do various view change, depending on in 2D or 3D.
When in 2D View
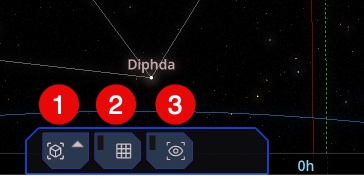
- (1) Show a view change popup
- (2) SHow a grid. Zoom in first to see it better.
- (3) Turn on Camera follows the Sun or the Earth, so the camera stays with that body while time runs.
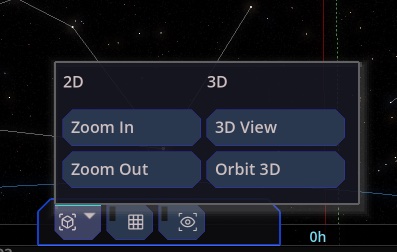
- Zoom in/out in 2D
- Open 3D View or Orbit 3D for that body.
When in 3D View
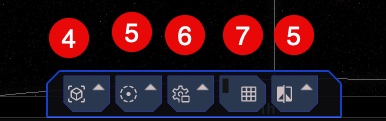
- (7) Show a grid of latitude and longitude on the body (
Gtoggles grids). - (4) Open a camera move popup
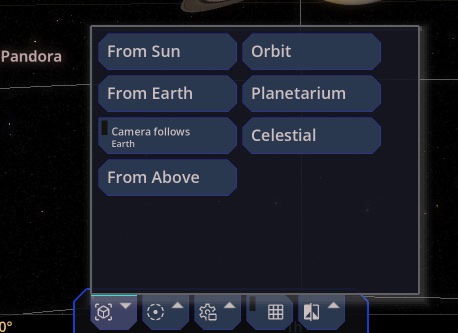
- Look From Sun, From Earth, or From Above.
- Turn on Camera follows the Sun or the Earth, so the camera stays with that body while time runs.
- Orbit the body in the 3D scene.
- Open Planetarium or Celestial for that body.
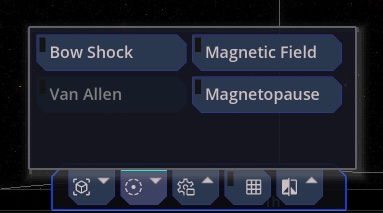
- Draw bow shock, magnetic field, Van Allen belts, or magnetopause when that body has a model for them. Buttons stay disabled when it does not.
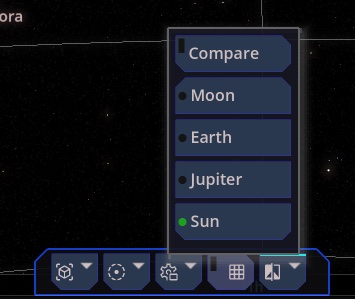
- Compare the body with the Moon, Earth, Jupiter, or the Sun, as a size reference in the 3D view.
- Switch Shading and Texture on the body.
Keyboard shortcut
Press Enter to zoom in on the selected object and Enter again to zoom back. For a deep-sky object the close field is about three times its catalog size, and at least 2°. Planets use about three times their apparent diameter.