AstroPlotorium User Manual
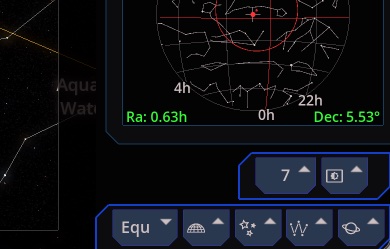
The bottom-right bar decides what is drawn. Each icon opens a small set of switches. A switch remembers its state.
Magnitude
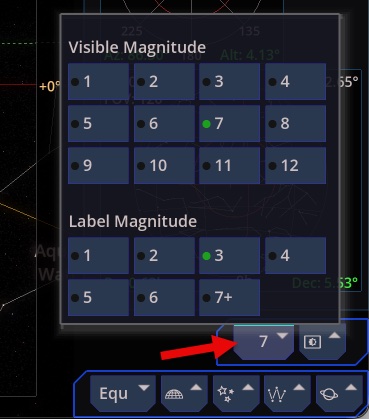
The number button is the faintest star magnitude the sky will draw. The scale runs from 1 to 12. A larger limit shows more, fainter stars. Magnitude 6 is roughly a dark naked-eye sky. Magnitude 12 is a deep catalog view and is busier.
Label Magnitude (1 through 7+) is the limit for star names. It can be brighter than the star limit so the sky stays labeled without every faint star carrying a name.
Stars and deep sky
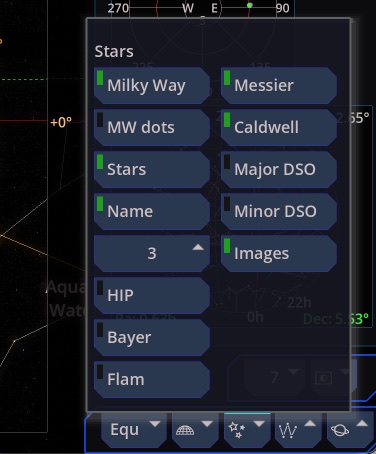
- Milky Way. A photographic band.
- MW dots. A dotted screen-tone of the Milky Way. Density and brightness are on the brightness sliders.
- Stars. The catalog points. Color follows the star’s color index. Size on screen follows magnitude and is not the star’s true angular size. Almost every star is a point. The dot is a symbol.
- Name, HIP, Bayer, Flam. Proper names, Hipparcos numbers, Bayer letters, and Flamsteed numbers.
- Messier, Caldwell, Major DSO, Minor DSO. Labels for those catalogs.
- Images. Deep-sky pictures placed on the sky at the catalog position and size.
Constellations and asterisms
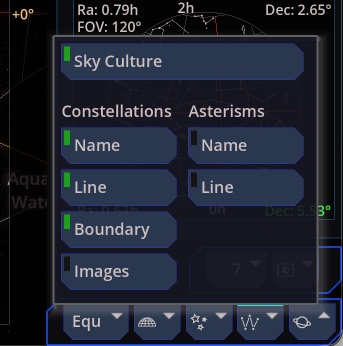
Sky Culture is the master switch for the figure layer.
Under constellations: Name, Line, Boundary (the official borders), and Images (artistic figures). Under asterisms: Name and Line.
Lines and boundaries are modern chart conventions. They are not objects in space. The eye icons in the navigator hide individual constellations or asterisms without turning the whole layer off.
Line brightness and figure-image brightness are separate sliders, so a white-paper theme and a night theme can both stay readable.
Grids, ground, and sky brightness
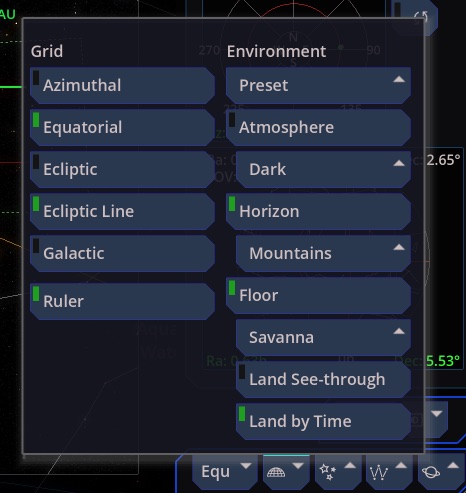
- Horizontal, Equatorial, Ecliptic, Galactic grids, matching the coordinate menu.
- Ecliptic line. The path itself, without the full grid.
- Grid rulers on the rim of the view.
- Atmosphere. The sky glow in the planetarium. In 3D Orbit this switch is the glow at the planet’s limb, not a sky that fills the zenith.
- Landscape preset. Land, ocean, Moon, a gas-giant deck, or none. None also turns the atmosphere off.
- Floor and horizon band, if you want to pick them separately: savanna, ocean, Moon, or gas for the floor; mountains, gas, or none for the horizon.
- Land See-through. The ground stays as a frame but you can see objects below the horizon.
- Land by Time. The ground’s transparency follows day and night.
- Bortle scale. 0 through 9, from a dark site toward a bright city. It changes how much sky glow you see. It does not delete stars. The magnitude limit does that.
Planets and orbits
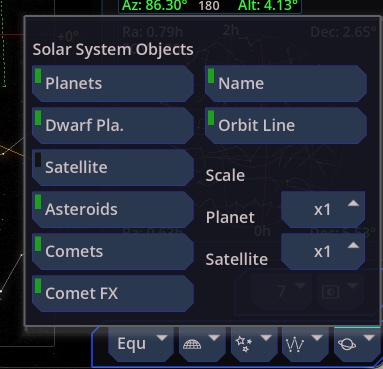
In the planet menu:
- Planets, Dwarf planets, Satellites, Asteroids, Comets. Which bodies are drawn.
- Comet FX. Comet coma and tails. Tail direction follows the physical model (away from the Sun for the ion tail, along the orbit for the dust). Brightness has its own slider, because a comet that is easy to see on a chart can be faint in a true naked-eye scale.
- Name and Orbit line.
- Planet and Satellite size scale: ×1, ×2, ×5, ×10, ×20, ×50, ×100, ×200, ×1000, ×2000, ×3000.
The size scale is the important caveat. At ×1, moons and most planets are too small to see next to their orbits. Turn the scale up to study the body. Turn it down when you want a truer sense of how small the bodies are compared with their orbits. Orbits themselves stay on the dynamical model. Scaling a planet does not scale its path.
Brightness
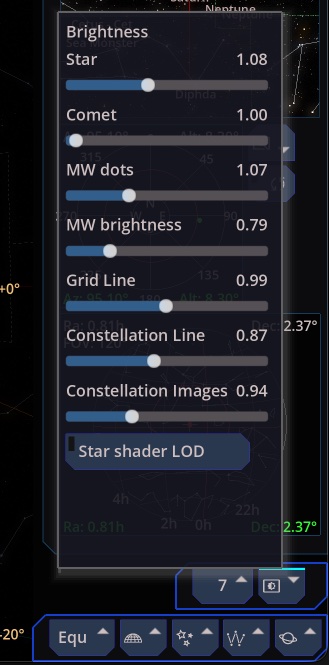
The brightness menu has sliders for stars, comets, Milky Way dots, and the line layers (grids and constellation lines can be set separately). These change contrast. They do not change magnitudes in the property panel or in the ephemeris.